The “Image Slider” component is built using the Flexslider JQuery toolkit and is a great way to add rich, customizable image carousels to your web page. Below are instructions on how to use the component in Cascade CMS.
Set Up the Folder Structure
The first thing we want to do is set up the folder structure to house all of the different assets that work together to form the image slider. The easiest way to create this folder structure and the necessary assets is to navigate to “New > Image Slider > Image Slider Package”. This method auto-generates EVERYTHING you need to get up an imageSlider up and running quickly!:

Below is a breakdown of the folders and assets that are included when you generate this package:
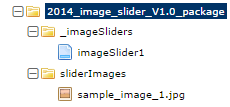
1.) “_imageSliders” folder: This folder houses your imageSliders. In this case, “imageSlider1”. (You can name this folder and its imageSlider whatever you want, but the basic jist is that this folder holds imageSliders).
2.) “sliderImages” folder: This folder houses the images for your imageSlider. You can place as many images in this folder as you want, then selectively include those images in your imageSlider. Go ahead and upload some images by navigating to “New > Image File “. Name your images and upload either by hitting the “Choose File” button, or by dragging and dropping your photos into the specified area. Images for your imageSlider must be 688 px wide, and 324 px tall.
Creating the Assets Individually
Again, by navigating to “New > Image Slider > Image Slider Package”, you can auto-generate all the necessary folders and assets to get started with your imageSlider. However, if you ever need to create these assets individually, here’s how:
The necessary imageSlider assets are:
1.) The “Image Slider Page”:
This is the page your imageSlider will appear on. To create the Image Slider Page, we are just going to create a regular default page: Navigate to “New > Page”. Name your Image Slider Page, then scroll down to the “Image Slider” area. This is where we attach our ImageSlider to the page!:
![]()
Click “search”, then select your imageSlider. If you haven’t created one yet, proceed to the next step.
2.) The “Image Slider”
Now that you have associated your Image Slider with your Image Slider Page, it is now time to give your Image Slider some content! To do this, click on your previously created “_imageSlider1” folder, then navigate to “New > Image Slider > Image Slider”. Name the imageSlider however you like, then adjust the settings for your slides:
The imageSlider form takes several elements:
a. Inline Metadata
b. ImageSlider
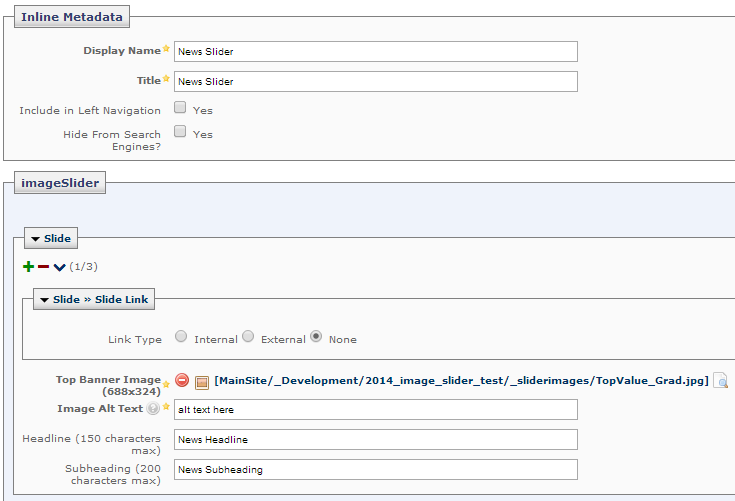
c. To create additional slides, click the “+” that appears directly below the “News Article” heading:

d. Once you have created all of the news slides, hit the “Submit” button.
View Your imageSlider on a Page
1.) Navigate back to your Image Slider Page and preview your imageSlider
2.) Click on your Image Slider Page. You should immediately see your new imageSlider on the page preview. If you don’t, please go back through the steps and ensure you didn’t miss anything. Don’t forget to publish your
Slider Page!

![]()