Now, let’s insert an image. Place your mouse cursor in the area desired for the image, and then click on the insert image icon on the toolbar.
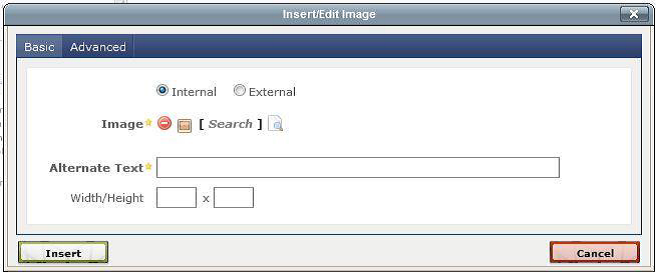
The insert image window offers two tabs – one for internal images and one for external. We are going to insert an image that is already on the system, which is the default internal tab.
Next to Image, you will see two icons – a red cancel/delete icon and an image icon. Click on the image icon to open a new window that will allow you to select an image to insert.
When an image is selected, click Confirm to close the window.
The image path will appear in the insert image window as shown below. In the Alternate Text field, type in the text representation of the image. The screen reader will read whatever you have entered in the alternate text field.
Now, click Insert for the image to be placed in the word processor.